How to Animate a Photo in 3 Simple Steps
Practical instructions for preparing a photo, choosing settings and downloading the result. Quality depends on the source photo and selected mode.
Edited by the FotoLab.ai editorial team · Updated
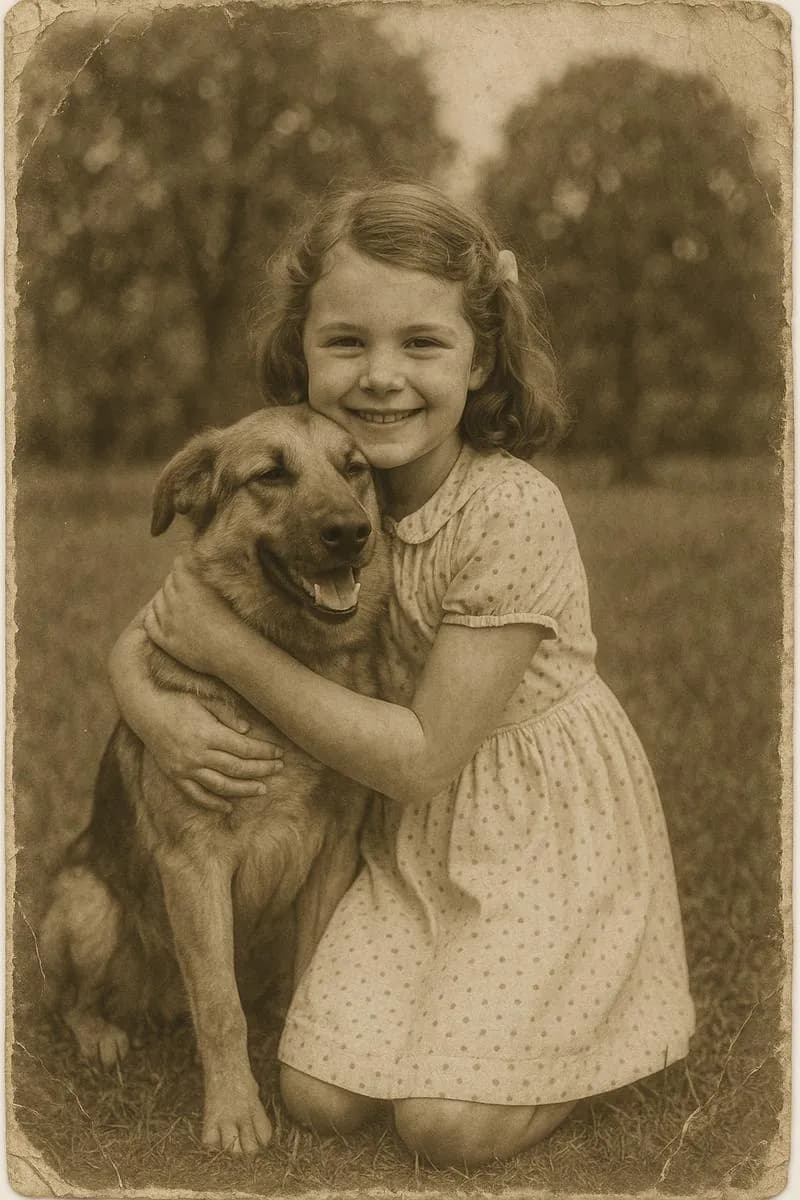
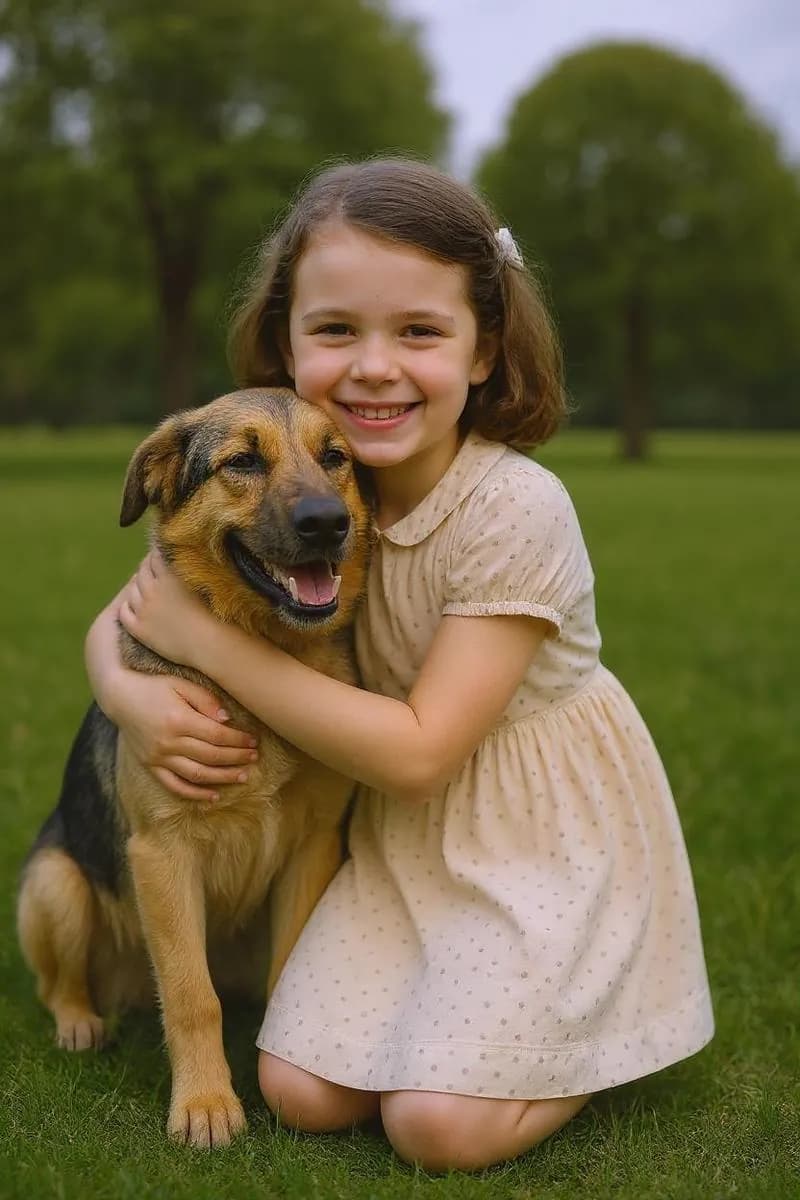
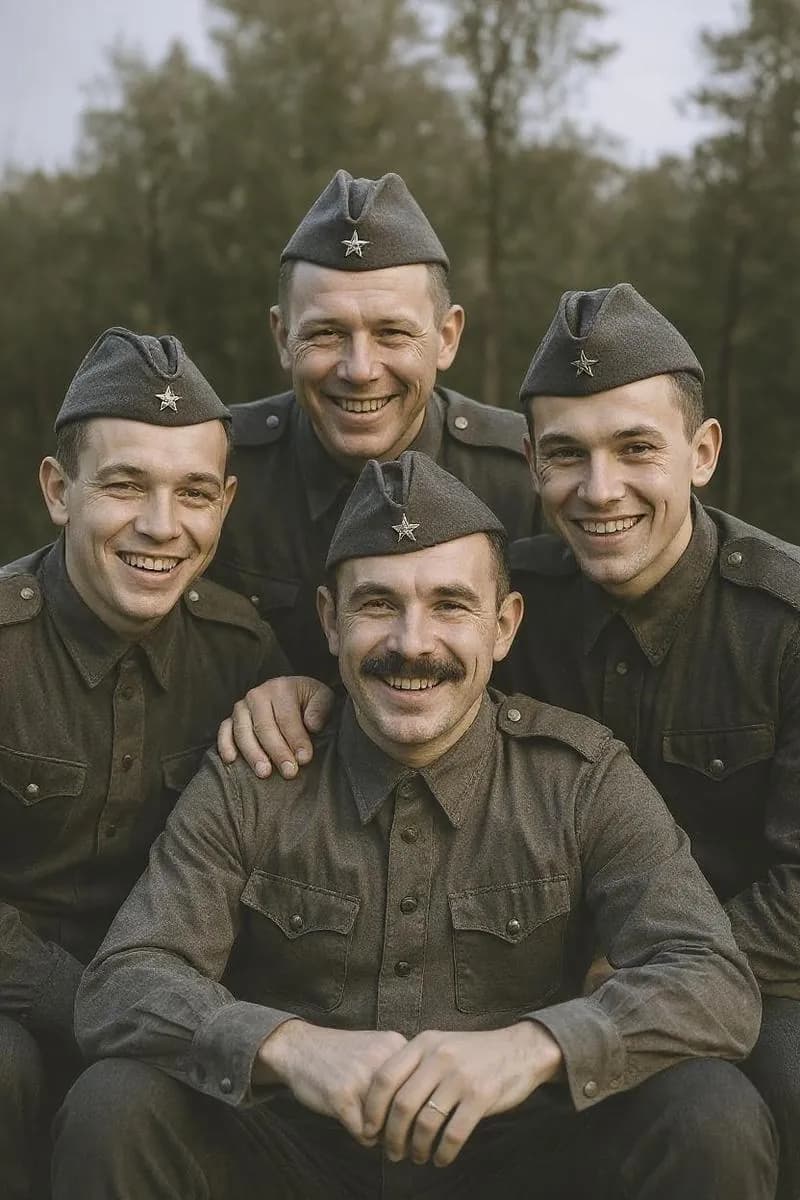
This static pair illustrates restoration before animation. Animation is a separate run that produces a video.
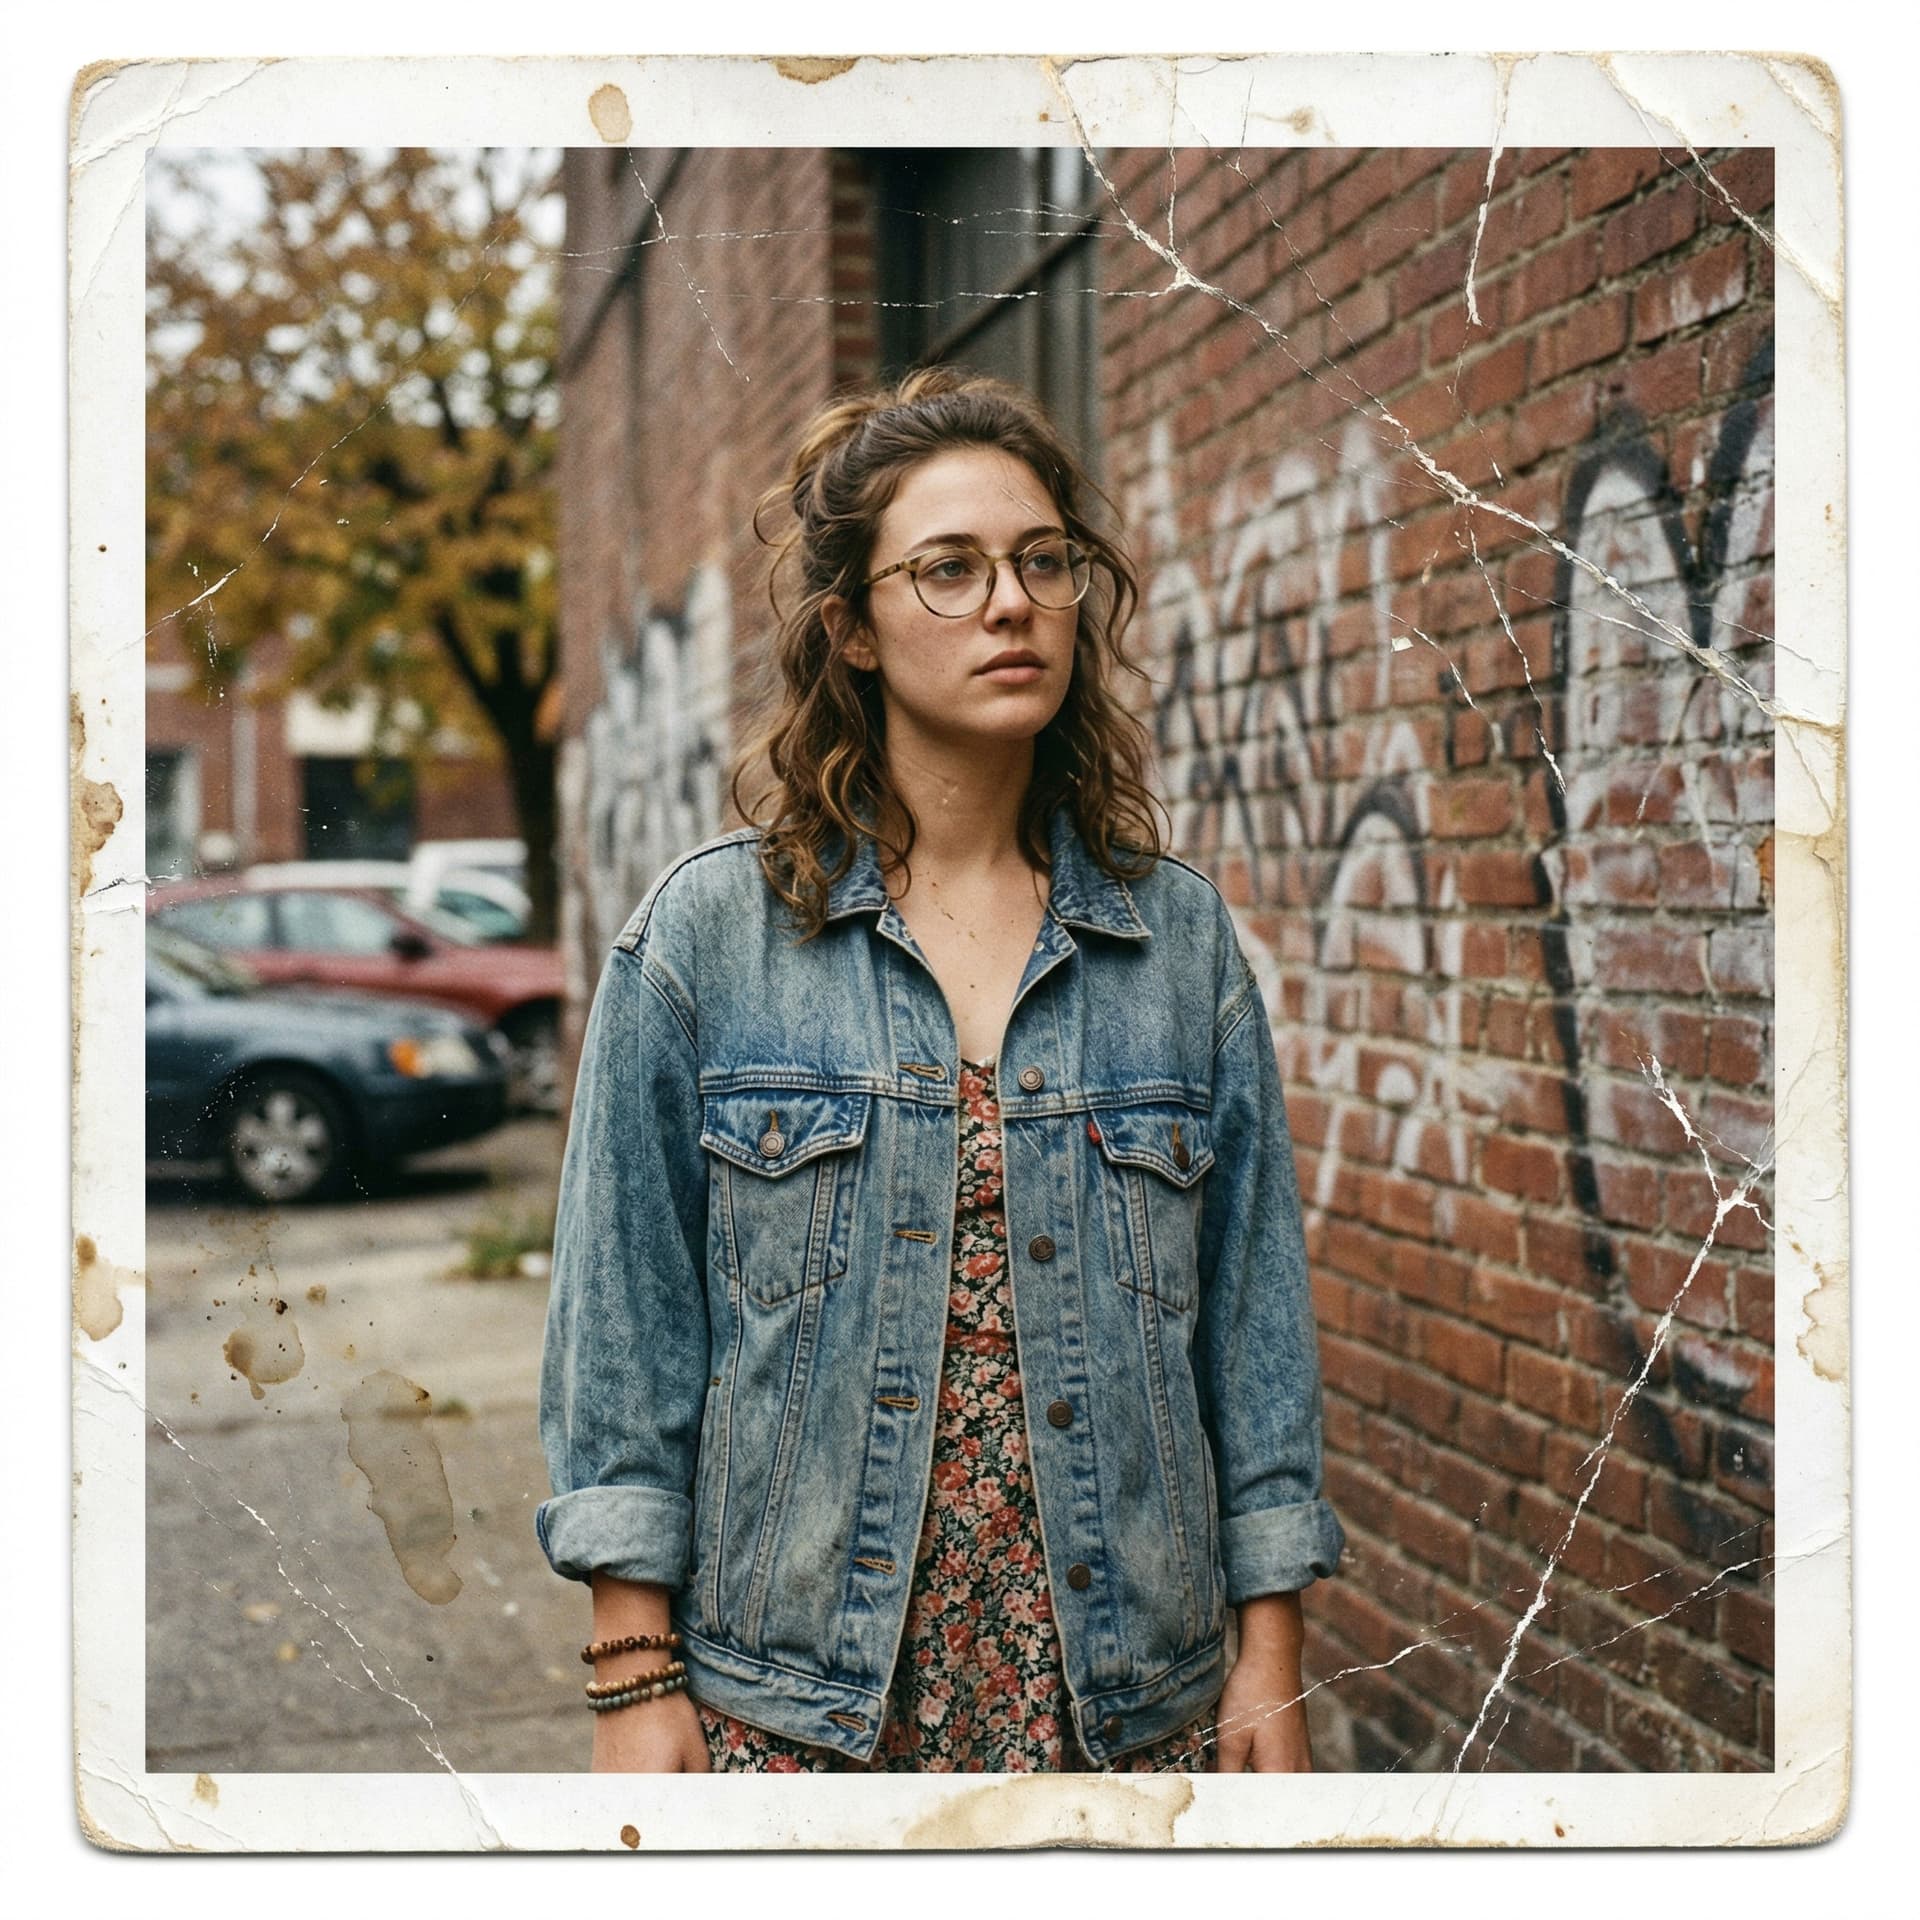
Practical example: prepare a scan before animation
- Open the free editor and upload the original scan. Keep a separate copy of the original file.
- In Scanner, place the four corners on the inner edges of the photograph to remove the paper border. Adjust the corners with the mouse or keyboard, then apply the correction.
- Check the crop: keep the whole face and enough space around it. Use gentle light and colour correction if needed, then save a JPG copy.
- Upload the saved copy to photo animation and check the selected settings and credit cost before running it. Restoration of scratches is a separate AI step, if needed.
Preparation in the free editor runs on your device. Its scanner corrects perspective; it does not restore missing details or generate motion. AI restoration and animation upload the photo for server processing.
Prepare a photo in the free editor3 steps to photo animation
Prepare a portrait, start processing and save the finished video.
Prepare Your Photo
Choose a clear portrait with good lighting. We recommend at least 800 px on the long side, with a prominent, unobstructed face.
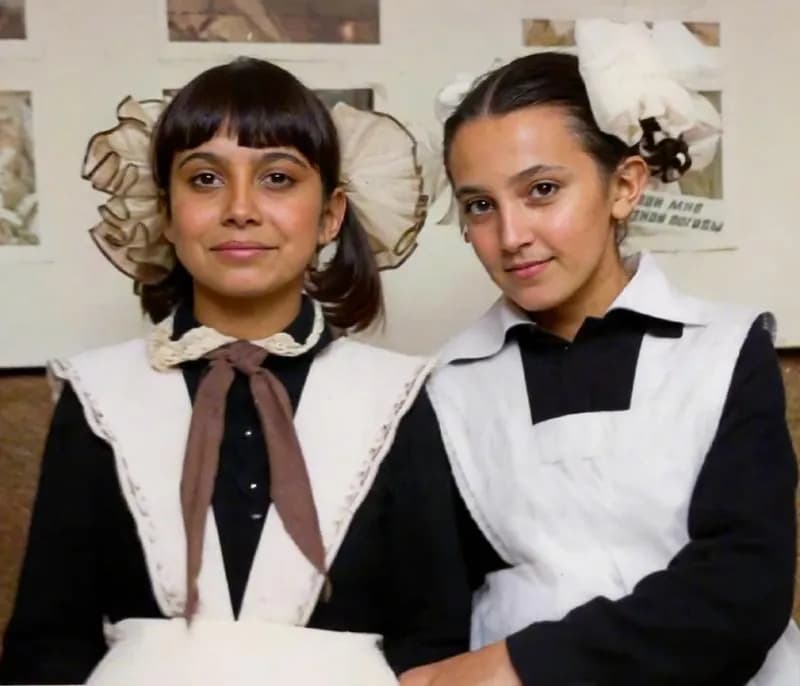
Upload and Start Animation
Open Animate Photo, upload your picture and choose settings. Check the cost and start processing.
Download the Result
Download the MP4 when processing completes. Every new run, including another attempt with different settings, uses credits.
What you need for quality animation
- JPG, JPEG, PNG, WebP, BMP, TIFF, HEIC, HEIF, up to 50 MB per file. Use a clear portrait with the face in focus.
- Recommendation: at least 800 px on the long side, preferably 1500+ px. This is quality advice, not a minimum upload limit.
- Frame type: portrait or bust photo, face in focus
- Color and black-and-white photos are supported; results depend on facial clarity.
- Stable internet: for uploading/downloading video
How to get the best result
- Best lighting — soft diffused light, face without harsh shadows.
- Avoid heavy noise and blur: use the original or scan the photo at 600–1200 dpi.
- Make sure the face is frontal or 3/4; profile gives weak results.
- Remove foreign objects covering the face (hands, text, watermarks).
- For group photos, upload each face separately — quality is higher.
Ready to Animate Your Photo?
Upload a portrait, choose a mode and check the cost before you start.
Frequently Asked Questions
Quick answers to get started right away.